The Tutor is the only role, as a specialist, that has the ability to create Quests, a sequence of selected exercises and activities in a number, order and level of difficulty that caters for each Kid’s needs personally.
Through the Eligence Junior platform, the Tutor, knowing the needs of the kids, is able to create:
- Quest Template, which is visible to all the Tutors of the Organization
- Personalized Quest, which will be designed exclusively based on a kid’s needs and will only be displayed in the kid’s information.
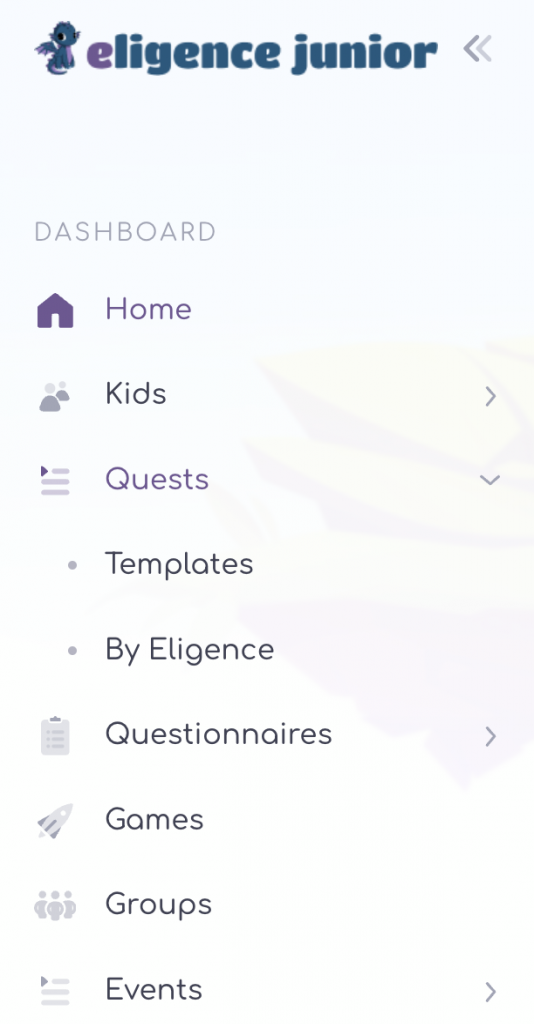
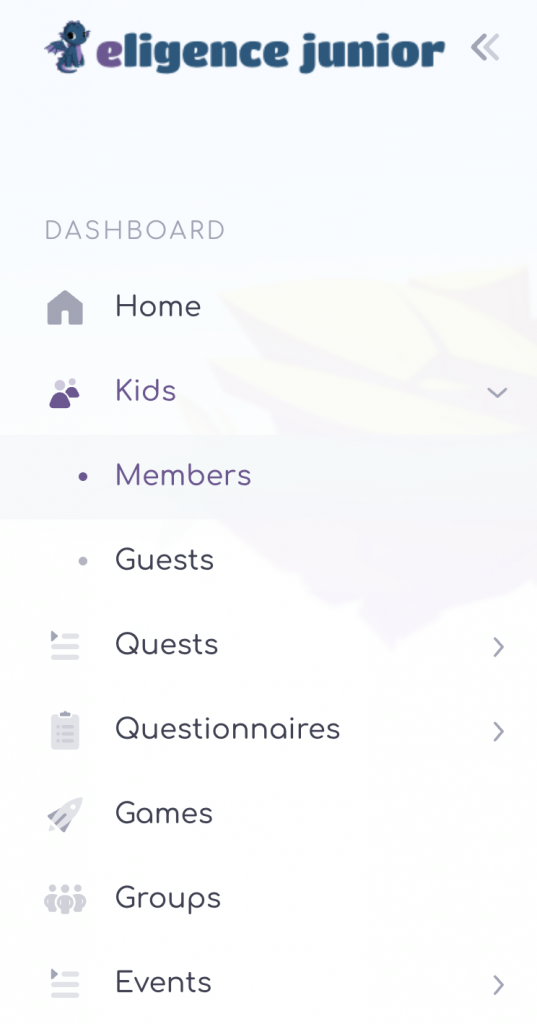
We begin by creating an Quest. Select the Quests field from the menu on the left.
And then the Add Quests field from the menu on the top right.

The tabs that appear in order are:
- Quest Information: You fill in the name of the Quest you are creating. The title will help you either for future use with another child, or as a reference point for why you created it, e.g. Quest for Memory Enhancement.

2.Exercises. Select the exercises you want to include in the Quest by clicking on the box with the cross to the right of the exercise name. Clicking on the exercises you selected creates a list of the selected exercises on the right. In this list you can select the order you want by simply dragging and dropping the exercise field in the right-hand list, as well as the difficulty level for each of the exercises individually, by simply clicking on the corresponding star to the right of the exercise name.
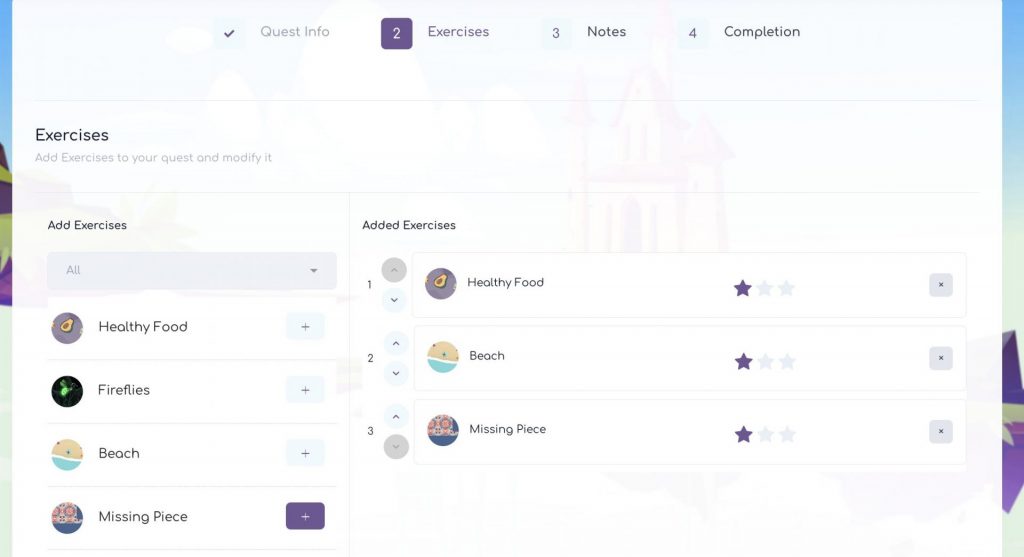
By clicking on the x field, you can remove an exercise from the list.
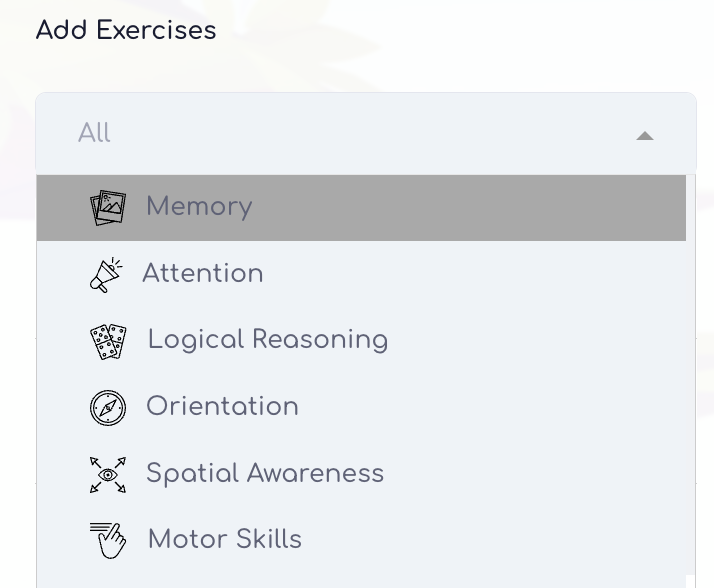
To create the list, by clicking on the arrow on the left, under the title Add exercises you can see the exercises, either all of them or by the cognitive skill they practice.
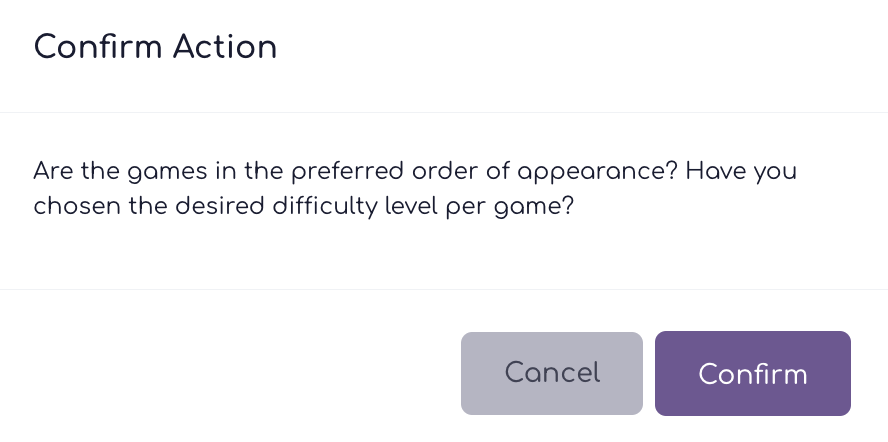
By completing the order of the exercises, you click on the Continue box at the bottom of the page, on the right, and Confirm or Cancel in case you want to make a change.
- Notes. In the first Tutor Information field, you can fill in notes that are only visible to the Tutor, while in the Kid information field you can fill in a message that you wish to be visible to the Kid.
After completing the notes, click on the Continue field at the bottom right.

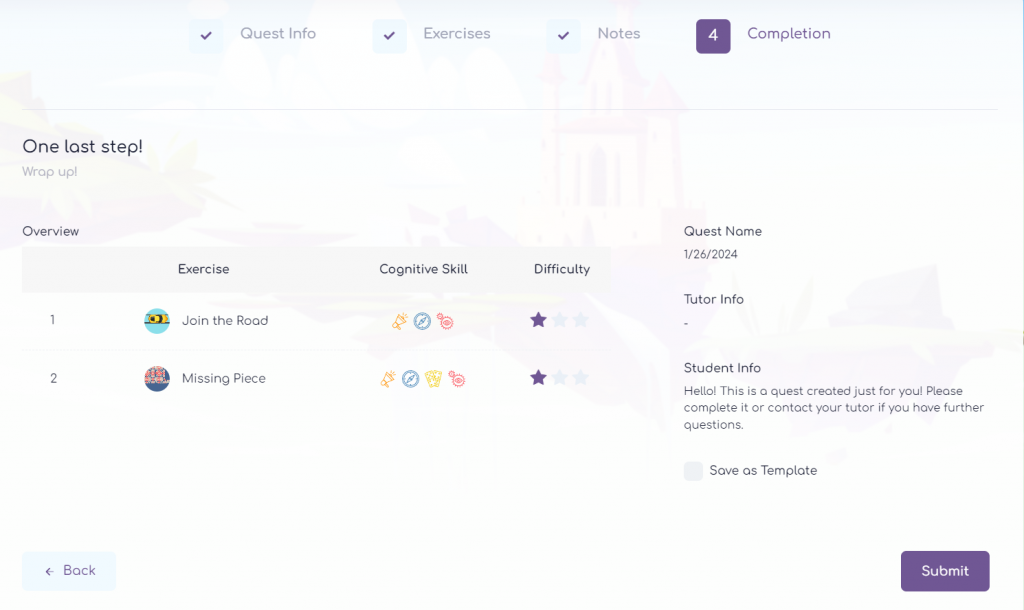
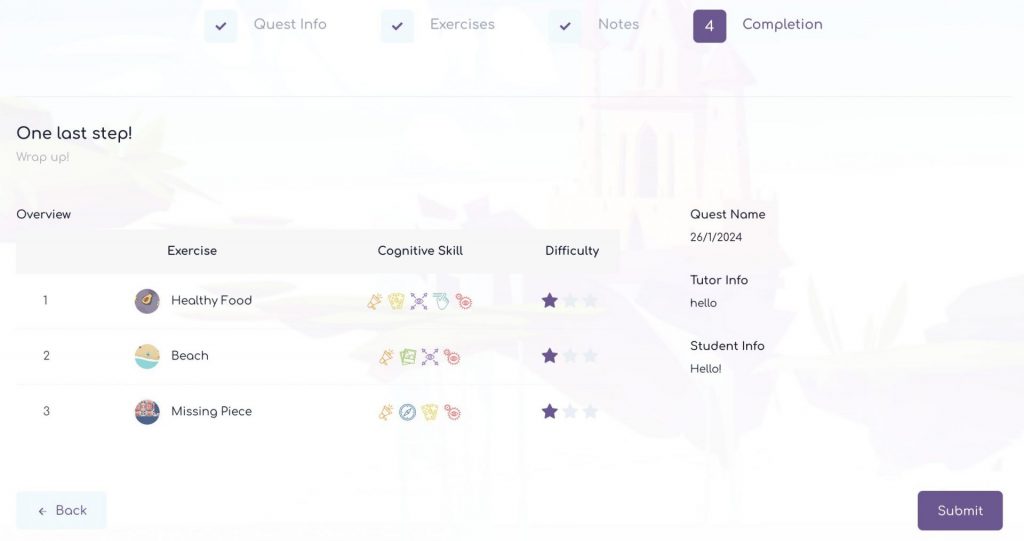
- Overview. In this tab you have a complete view of the quest in terms of the exercises you have selected, the order of appearance, the difficulty level per exercise and the necessary notes. Click Submit and the Quest is complete.
The next step is to Assign a Quest to a kid.
Entering the application to create a Quest can also be done by selecting the Kids field from the left menu.
Then select the row with the kid you are interested in, click on their name and in the menu that appears select the Quests field and then the Assign New Quest field.
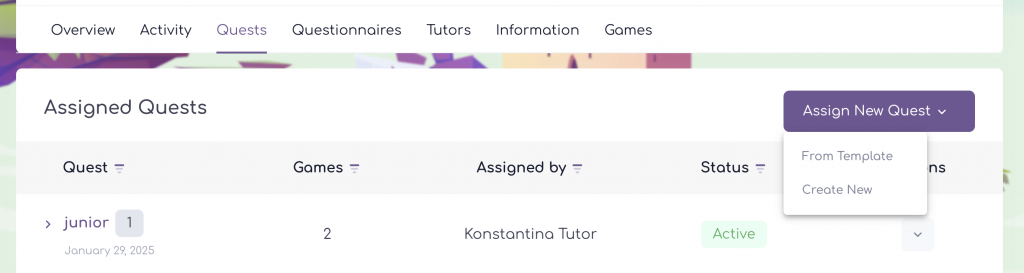
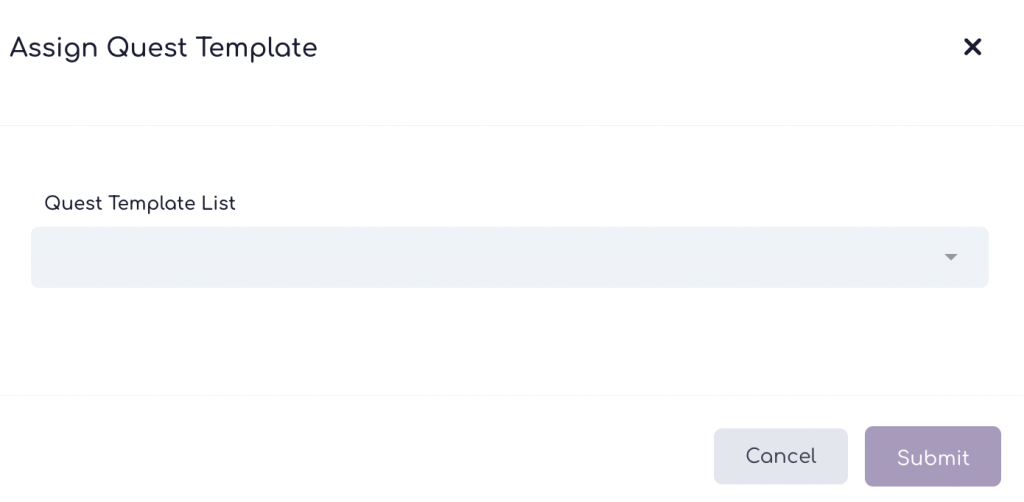
At this point you can choose to Assign Quest from Template or Create a New Quest.
If you want to assign an Quest from Template, click on the corresponding From Template field and in the tab that appears select the title of the Quest you wish to assign.
If you want to create a New Quest, select the Create New field, and follow all the steps described above to create an Quests.
The only difference is that on the last tab you will have an additional option, which is Save as Template.